
Table of Contents
ToggleFlickering lights, dead bulbs, and mysterious dark spots on fixtures are more than annoyances, they’re signals that your home’s lighting system needs attention. Most homeowners don’t think about lighting maintenance until something breaks, but a little regular upkeep keeps fixtures working safely, extends their lifespan, and can catch electrical problems before they become hazards. You don’t need to be an electrician to handle basic electrical lighting maintenance. With the right approach and a few key safety habits, you’ll learn when to clean, when to troubleshoot, and when to call in a pro.
Key Takeaways
- Regular electrical lighting maintenance prevents safety hazards like fires and electrical shocks while extending fixture lifespan and reducing electricity costs by keeping components clean and efficient.
- Before any lighting work, always turn off power at the breaker panel (not just the wall switch), wear safety glasses, and use a non-contact voltage tester to confirm power is off before handling fixtures or wires.
- Flickering lights often result from loose bulbs, dimmer incompatibility with LED bulbs, or loose connections inside fixtures—tighten bulbs first, then upgrade to dimmable LED bulbs or modern dimmers before calling an electrician.
- Monthly inspections of fixtures for dust and damage, combined with seasonal cleaning of recessed lights and outdoor fixtures, catch problems early and maintain optimal light output.
- LED bulbs are the best choice for most fixtures, running cooler and lasting 15,000–25,000 hours, but always match the exact wattage and type rated for your fixture to prevent fire hazards.
- A monthly maintenance habit of checking switches, testing bulbs, and visually inspecting fixtures for burn marks or loose mounting takes just five minutes and prevents most common lighting issues.
Why Regular Lighting Maintenance Matters for Your Home
Your home’s lighting system works harder than you might think. Every flip of a switch, every dimmed bulb, and every fixture in constant use puts wear on both the electrical components and the bulbs themselves. Dust, heat, and moisture accumulate inside fixtures and on bulbs, reducing light output and creating potential fire hazards.
Regular electrical lighting maintenance improves safety first. Faulty wiring, loose connections, and overheated fixtures can spark fires or cause electrical shocks. Second, it saves money. A well-maintained bulb lasts longer, and fixtures that get cleaned run more efficiently, meaning lower electricity bills. Third, it catches problems early. A flickering switch might seem minor, but it’s often the first sign of a loose connection or failing component that’s worth addressing before it gets worse.
Take five minutes each month to visually inspect fixtures, test switches, and wipe down visible dust. This habit alone prevents most common lighting issues and keeps your home safer.
Safety Inspection Essentials Every Homeowner Should Know
Before you touch anything electrical, establish a safe baseline. Turn off power at the breaker panel, not just the wall switch, this removes live power from the fixture while you work. Wear safety glasses to protect against dust and any debris. If you’re cleaning inside a fixture or testing connections, use insulated gloves and keep one hand in your pocket when testing circuits with a non-contact voltage tester (a $10 tool that detects live current without direct contact).
Inspect each fixture for physical signs of trouble. Look for burn marks, discolored areas, loose mounting hardware, or gaps where wires enter the fixture, these indicate overheating or poor connections. Check that fixtures are firmly mounted to the ceiling or wall: a loose fixture can shift and damage wiring.
Test switches by flipping them several times. A switch that feels sticky, sticks partway, or makes a popping sound needs replacement. Switches are inexpensive ($1–$5) and quick to swap out, but faulty ones are a genuine fire risk. If you’re unsure about any wiring inside a fixture or feel resistance when removing components, stop and call a licensed electrician. Your home’s electrical system isn’t a place to guess.
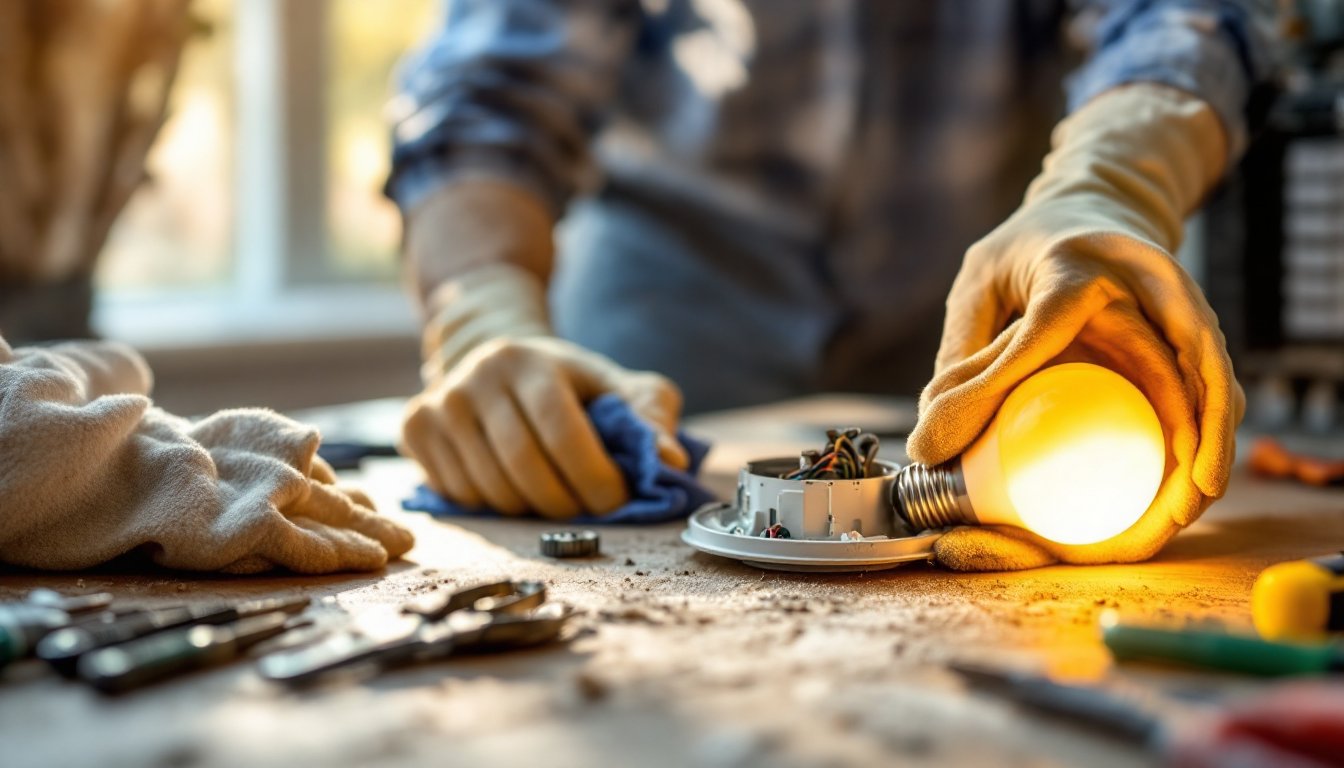
Cleaning and Replacing Bulbs Like a Pro
Dirt on a bulb or inside a fixture can reduce light output by 10–20%, and trapped heat shortens bulb life. Start by removing bulbs one at a time. Note the wattage and base type (standard E26 screw-in, GU10 pin-based, or G9 specialty base) before removing anything, this prevents mixing up bulb types in multi-bulb fixtures.
Wipe the bulb with a soft, dry microfiber cloth. For recessed or enclosed fixtures, use a slightly damp cloth on the interior surfaces and let them air-dry completely before reinstalling bulbs. Never use wet cloth on a bulb’s electrical base. For globe covers or diffusers, remove them and wash with mild soap and water, then dry thoroughly.
When replacing bulbs, match the exact type and wattage. Installing a higher-wattage bulb than the fixture is rated for creates a fire hazard. LED bulbs are now standard for most applications, they run cooler, last 15,000–25,000 hours, and cost far less to operate than incandescent or CFL. But, not all fixtures work with all dimmers. If your new LED bulb flickers on a dimmer, check the dimmer’s compatibility (most modern dimmers list this) or switch to a dimmable LED bulb rated for your dimmer’s electrical load.
Keep a supply of replacement bulbs in commonly used sizes so you’re not hunting for one at night.
Troubleshooting Common Lighting Problems
Flickering Lights and Dimmer Issues
Flickering is the most common complaint, and causes range from simple to serious. Start with the obvious: is the bulb screwed in fully? A loose bulb creates intermittent contact and flickers. Remove, wipe the base and socket, and reinstall firmly.
Next, check if the problem happens only on a dimmer. Dimmers and certain bulbs, especially older LED or CFL types, don’t always play well together. Replace the bulb with one explicitly rated as dimmable, or upgrade the dimmer to a modern electronic model that accommodates LED loads. Standard dimmers are designed for incandescent bulbs and often cause LED flicker.
If the bulb is tight and the dimmer isn’t the issue, the problem is likely inside the fixture or the circuit. Loose connections inside a fixture create flickering. This requires a licensed electrician. A flickering light that affects multiple bulbs on the same circuit often signals a loose wire at the breaker panel, which is a fire risk and must be handled by a professional.
Switches and Circuits That Need Attention
A switch that doesn’t fully control a light, cuts power intermittently, or feels loose in its wall box is failing. Most switches are 15-amp rated (standard for residential lighting circuits). If you’re comfortable with basic electrical work, replacement takes ten minutes: kill power at the breaker, test the wires with a non-contact voltage tester to confirm power is off, loosen the terminal screws, remove old wires, connect new wires to the new switch, and tighten the screws. Twist wires clockwise around the terminal screw for solid contact.
If a circuit breaker trips when you flip certain lights on, the circuit is overloaded. Modern homes use 20-amp circuits for newer lighting, but older homes may run lights on 15-amp circuits shared with outlets. Plug fewer devices into outlets on that circuit, or have an electrician add a dedicated circuit. Never replace a 15-amp breaker with a 20-amp to “fix” a tripping breaker, that’s unsafe and often violates code.
For smart diagnostic help, digital trends in smart home technology and product reviews from Tom’s Guide cover smart switches and monitoring devices that can help identify electrical problems in real time. Beyond basic switch and bulb work, any troubleshooting inside a fixture, at the breaker panel, or involving rewiring walls should go to a licensed electrician licensed in your state.
Seasonal and Monthly Maintenance Checklist
Set a calendar reminder to check your lighting system on the first of each month and seasonally as weather changes.
Monthly:
• Turn off power and visually inspect each fixture for dust, damage, or loose components.
• Test every switch, does it feel smooth and responsive?
• Note any bulbs that are dimmer than normal and plan replacements.
• Check that bulbs still feel secure in their sockets.
Seasonally (spring and fall):
• Clean interior surfaces of recessed lights, ceiling fixtures, and enclosed shades.
• Check caulk around outdoor fixtures where they meet the roof or wall: reseal if cracked.
• Test outdoor lighting and replace any corroded or water-damaged fixture bases.
• Inspect the path from breaker panel to ceiling fixtures for any visible damage to wire runs.
Annually:
• Replace HVAC filters and check that dust from air return vents doesn’t pile up on light fixtures.
• Review your home’s circuit load, if you’ve added new appliances or outlets, ensure circuits aren’t overloaded.
• 14 lighting maintenance tips offer practical guidance on year-round fixture care and seasonal adjustments.
For homes in humid climates, add monthly inspections of bathroom and kitchen fixtures for corrosion or fogging inside globes. In cold climates, check recessed lights in attics to ensure insulation isn’t blocking them, blocked recessed lights overheat and become fire hazards.
Know your home’s electrical panel. Label every circuit so you instantly know which breaker controls which areas. This saves time during repairs and emergencies. Keep a flashlight and basic tool kit (flathead and Phillips screwdriver, wire strippers, voltage tester, pliers) in an accessible drawer, homeowners use these monthly, not once a decade.