
Table of Contents
ToggleMost homeowners don’t think about kitchen plumbing maintenance until water pools under the sink or the garbage disposal backs up. By then, a simple fix has turned into a weekend emergency and a contractor’s invoice you didn’t budget for. Kitchen plumbing maintenance doesn’t require a plumber’s license, just consistent attention and a few basic tools. The good news: a straightforward maintenance routine catches 80% of problems before they become expensive. This guide walks you through the essential tasks, common pitfalls, and honest signals that it’s time to call a professional.
Key Takeaways
- A consistent kitchen plumbing maintenance routine catches 80% of problems before they become expensive, requiring only basic tools and 15 minutes per month.
- Prevent clogs by never pouring grease down the drain, keeping coffee grounds and fibrous vegetables out of the disposal, and using monthly drain brushes or baking soda and vinegar flushes.
- Identify leaks under the sink by running water and pinpointing the source—loose fittings can often be tightened by hand, while corroded P-traps typically need replacement for $10–20.
- Perform monthly checks by running hot water down drains, visually inspecting under the sink for water staining or corrosion, and testing compression fittings for dampness.
- Call a professional plumber if water pressure is low throughout the kitchen, you smell sewer gas, notice mold around pipes, or a clog persists after DIY attempts, as these indicate serious issues requiring expert tools and experience.
Why Kitchen Plumbing Maintenance Matters
Your kitchen plumbing system works hard. Between running the dishwasher, rinsing vegetables, draining pasta, and disposing of scraps, the lines under your sink handle constant use. Unlike bathroom plumbing, which mostly deals with clean water and human waste, kitchen drains face food particles, grease, soap, and mineral buildup. Over time, small clogs grow into major blockages. Pinhole leaks under the cabinet become water damage to your subfloor and cabinetry. Faucet drips that seemed harmless waste thousands of gallons annually and spike your water bill. Regular maintenance costs almost nothing, a drain brush, some baking soda, and 15 minutes per month. Emergency repairs cost hundreds. Preventive work keeps your system flowing freely, extends the lifespan of your fixtures, and saves you from the stress of a kitchen plumbing failure mid-dinner party.
Common Kitchen Plumbing Problems and Prevention
Clogged Drains and Disposal Issues
Clogged kitchen sink drains are the most common plumbing complaint homeowners face. Food particles, grease, and hair accumulate in the P-trap (the curved section of pipe directly under the sink) and downstream in your branch line. If you have a garbage disposal, buildup happens faster because people assume the disposal can handle anything.
Prevention starts with what goes down the drain. Never dump cooking grease, oil, or fat down the sink, even hot grease flows freely at first, then solidifies in your cool pipes and traps food particles like glue. Coffee grounds, eggshells, and fibrous vegetables like celery should go in the trash, not the disposal. Run cold water while the disposal is on to push material through the line, then keep the water running for 10 additional seconds after you turn it off. Once a week, grind a handful of ice cubes and a small cup of coarse salt through the disposal to scour the chamber walls and grind up soft deposits.
For drain maintenance, use a drain brush or flexible auger monthly. These tools cost $8–15 and physically remove buildup without chemicals. Insert the brush down the drain and work it side to side to loosen debris. Pull it out and flush with hot water. Alternatively, pour 1/2 cup of baking soda down the drain, followed by 1 cup of white vinegar. Cover the drain opening with a stopper or wet cloth for 30 minutes, the fizzing action breaks apart grease and soap film. Flush with hot water afterward. Many homeowners find this method works as well as commercial drain cleaners and is gentler on old pipes.
If a clog develops even though prevention, step-by-step guidance on clearing kitchen sink clogs can help you decide whether a plunger, drain snake, or professional service is needed.
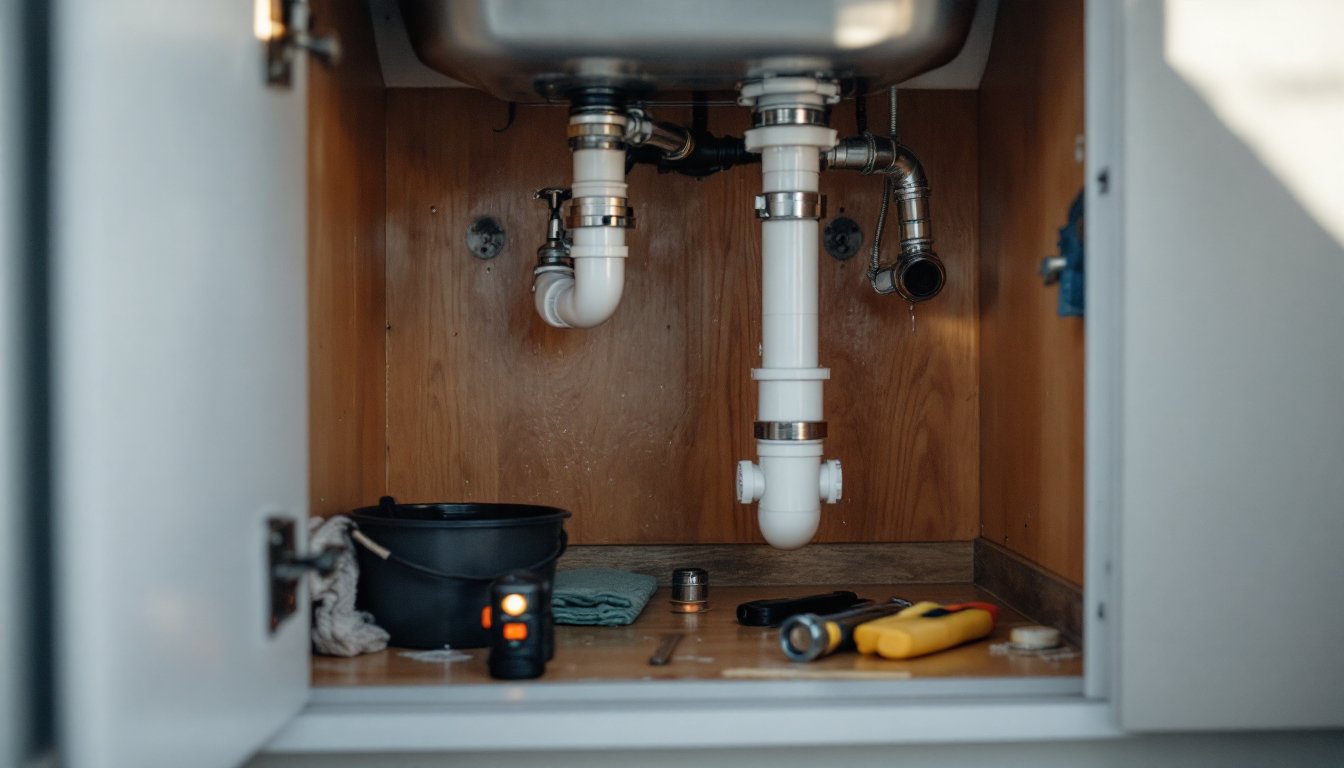
Leaks Under the Sink
Water pooling under the sink is a red flag that demands immediate attention. The area under a sink contains supply lines (hot and cold water in), a drain line (water out), and sometimes a garbage disposal line, all prone to leaks. Causes range from loose compression fittings to corrosion, cracks in the P-trap, or a failed faucet O-ring (a small rubber seal).
First, identify where the leak originates. Run water at the sink and watch carefully. Does water drip from the faucet base? From a compression fitting where supply lines connect? From the curved P-trap itself? Once you pinpoint the source, you know whether it’s a quick tightening or a parts replacement.
Loose connections are the easiest fix. Use a basin wrench or adjustable wrench to tighten the compression nut (the fitting securing the supply line to the faucet or valve) by a quarter turn. Tighten gently, over-tightening strips threads and makes the problem worse. If tightening doesn’t stop the drip, the faucet’s internal seals have likely failed. How to repair common kitchen faucet leaks involves replacing cartridges or washers, a 30-minute job for most faucets if you have the right replacement kit.
For leaks in the P-trap, place a bucket under the connection and use a pipe wrench to unscrew the slip nuts (the large hexagonal fittings on either end of the trap). Pull the P-trap free and inspect it. If it’s corroded or cracked, replace it with a new one (about $10–20). If it’s intact, the rubber washers inside the slip nuts may be worn. Replace them and reassemble. Always hand-tighten first, then give one full turn with the wrench, tight enough to stop leaks but loose enough to unscrew by hand next time.
Essential Monthly and Seasonal Maintenance Tasks
A consistent routine prevents most problems. Monthly, run hot water down the drain for 30 seconds to flush soap and light buildup. Once a month, use the baking soda and vinegar method described above. Check under the sink visually, any water staining, white mineral deposits, or corrosion signals an emerging problem. Feel compression fittings and the P-trap by hand: they should be dry. If you notice dampness, mark the spot, let it dry fully, then monitor whether it returns. A one-time drip might be condensation: persistent wetness is a leak.
Seasonal tasks matter too. In spring, inspect your garbage disposal’s splash guard and remove any debris stuck around the edges. Run a few dishes through the dishwasher while watching the drain below, some dishwashers connect to the kitchen sink drain, and a slow drain there affects dishwashing. In fall, before winter, ensure your shut-off valve (usually under the cabinet or in the basement) operates smoothly. Turn it off completely and back on once to ensure it’s not stuck. A stuck valve becomes useless in an emergency.
If you live in a hard-water area (mineral-rich water that leaves white, chalky deposits), run essential maintenance tasks for kitchen sink plumbing systems to learn whether you need a water softener or if periodic descaling is enough. Sediment buildup in aerators (the screen at the faucet tip) is common: unscrew the aerator, soak it in white vinegar for an hour, scrub with an old toothbrush, and reinstall.
Keep a plumbing emergency kit handy: a bucket, rags, a plunger, an adjustable wrench, a basin wrench, a small section of steel wool, and a flashlight. Store shut-off valve locations in your phone or a note on your fridge so anyone in your household can find them in a crisis.
When to Call a Professional Plumber
Some jobs cross the line into territory that demands a licensed plumber. If water pressure is low throughout the kitchen (not just at one faucet), the problem likely lies in the main supply line or a hidden leak in the wall, both require professional diagnosis. If you smell sewer gas or see mold around pipes, call immediately: these indicate a vent or drain system failure that poses health risks.
If a clog persists after plunging and using a drain snake, it may be deeper in your branch line or in the main sewer line. A professional with a motorized auger or camera can find it. Similarly, if you discover the P-trap is cracked or corroded but can’t unscrew it (older homes sometimes have fittings so old or mineral-encrusted they won’t budge), forcing it risks damaging the fitting or dropping the trap, spilling contaminated water. A plumber has the experience and tools to remove stuck fittings without collateral damage.
Be honest about your comfort level. If you’ve never used a pipe wrench or tightened a compression fitting, watch a video first or ask a handy friend to walk you through it. Most simple repairs are forgiving, mistakes usually just mean water drips again until you try a second time. But if you’re working with a faucet cartridge or inside the wall, mistakes are costlier. Many plumbers charge $100–150 for a service call plus parts: DIY supply runs and mistakes can end up costing the same or more.
Also, check local codes before tackling structural plumbing work (like moving a sink location or installing a new dishwasher drain). Some jurisdictions require a licensed plumber to do this work or at least sign off with a final inspection. Skipping this step creates liability if you ever sell your home and can void homeowner’s insurance in a water damage claim.
Conclusion
Kitchen plumbing maintenance is one of the highest-ROI home projects: small effort, minimal cost, maximum peace of mind. A few preventive habits, watching what goes down the drain, monthly brushing, and seasonal checks, keep your system healthy for years. When problems do arise, you’ll spot them early and handle simple fixes yourself. Knowing when to call a pro protects you from expensive mistakes and keeps your kitchen running smoothly.