
Table of Contents
ToggleYour Carrier air conditioning system works hard year-round to keep your home comfortable, but like any mechanical system, it needs regular attention to perform at its best. Carrier AC maintenance isn’t just about comfort, it’s about protecting your investment, improving energy efficiency, and avoiding costly emergency repairs during the peak of summer or when temperatures drop unexpectedly. The good news? Most homeowners can handle basic Carrier AC maintenance tasks themselves. This guide walks you through what you need to know, what you can DIY, and when to call a professional.
Key Takeaways
- Regular Carrier AC maintenance reduces energy consumption by 5 to 15 percent and can extend your system’s lifespan by 5 years or more through consistent preventive care.
- Change your 1-inch AC filter every 1 to 3 months and clean evaporator and condenser coils seasonally to prevent efficiency loss and avoid costly emergency repairs.
- Perform spring and fall maintenance checks, including filter replacement, outdoor unit inspection, thermostat testing, and condensate drain clearing to catch small problems before they compound.
- Call a licensed technician for refrigerant issues, compressor or motor failures, electrical problems, water leaks, and strange odors—these require EPA certification or specialized equipment beyond DIY safety.
- Implement simple efficiency habits like programming your thermostat, keeping vents unobstructed, and maintaining 2 feet of clear space around the outdoor condenser unit to maximize cooling performance.
Why Regular Carrier AC Maintenance Matters for Your Home
A well-maintained Carrier AC system runs more efficiently, cools your home faster, and lasts longer. Skipping maintenance is like never changing the oil in your car, eventually, things start to fail. Regular upkeep prevents dust and debris buildup in coils, keeps refrigerant at proper levels, and ensures fans and motors operate smoothly.
Energy bills tell the story. A neglected system works harder to reach your set temperature, pulling more power and driving up cooling costs. Routine maintenance can reduce energy consumption by 5 to 15 percent, depending on how much neglect the unit has suffered. Over a summer, that adds up to real money.
When you maintain your Carrier AC consistently, you’re also catching small problems before they become big ones. A loose belt, a slow refrigerant leak, or a clogged evaporator coil might seem minor today, but they compound into system failure. Preventive care costs far less than a complete replacement or an emergency repair call at 8 p.m. on a Saturday.
How to Change Your Carrier AC Filter
Changing your Carrier AC filter is the simplest maintenance task and one of the most important. A clogged filter reduces airflow, makes your system work harder, and allows dust to coat internal components.
When to change: Check your filter every month during cooling season. Most 1-inch pleated filters need replacement every 1 to 3 months, depending on household dust, pets, and air quality. 4-inch or 5-inch filters last longer, typically 6 to 12 months.
What you’ll need:
- Replacement filter (same size and MERV rating as your current filter: check your manual or the side of the existing filter)
- Step stool if the return air plenum is high on the wall
- Damp cloth to wipe the filter housing
Steps:
- Turn off your Carrier AC system at the thermostat and the electrical breaker (safety first).
- Locate the filter housing. Most units have it mounted vertically in the return air ductwork near the furnace or in a wall-mounted cabinet.
- Slide the old filter out. Note the arrow on the frame, it shows airflow direction.
- Wipe dust from the housing edges with a damp cloth.
- Slide the new filter in with the arrow pointing toward the system (into the ductwork, away from the return air).
- Restore power and set your thermostat back to your desired temperature.
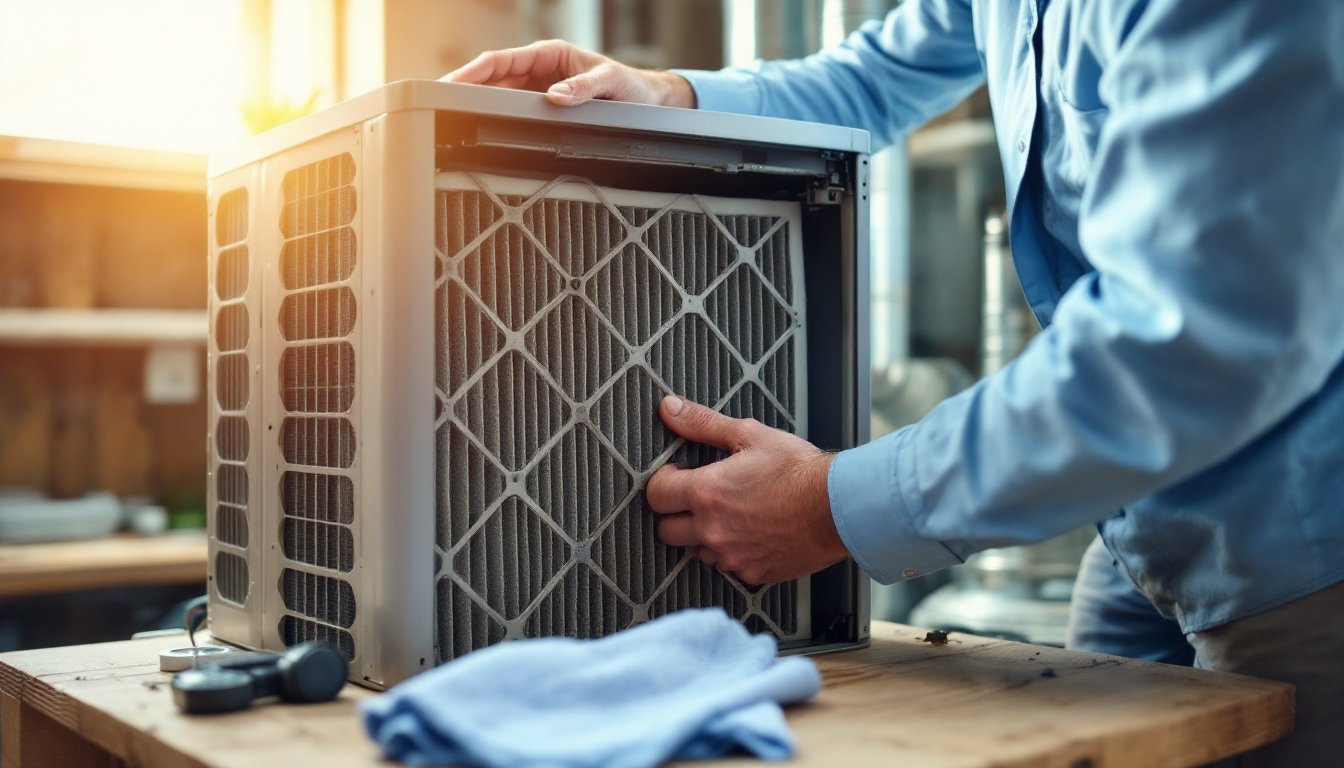
Cleaning the Evaporator and Condenser Coils
Your Carrier AC has two sets of coils: the evaporator coil (inside, removes heat) and the condenser coil (outside, releases heat). Dirty coils reduce heat transfer efficiency and can lead to ice buildup on the evaporator coil in summer.
Cleaning the evaporator coil is trickier than the filter. You’ll need to access it through the return air plenum or indoors, and it requires care not to bend the delicate aluminum fins.
DIY evaporator coil cleaning:
- Use a soft brush or fin comb to gently remove dust from the coil surfaces.
- For stubborn buildup, a no-rinse coil cleaner (follow product instructions) can help, but avoid high-pressure water, which bends fins.
- Never lean or apply hard pressure, the fins damage easily.
For the outdoor condenser coil, shut off the system and use a garden hose on low pressure to rinse debris from the outside. Work from top to bottom, angling the water to shed downward. Trim back vegetation within 2 feet of the unit to ensure proper airflow.
If you’re uncomfortable accessing internal coils or suspect significant buildup, hire a professional. They have tools to do the job safely and effectively.
Seasonal Maintenance Tasks: Spring and Fall Checklist
Spring (before cooling season) and fall (before heating season) are ideal times for a deeper system check.
Spring maintenance:
- Clean or replace the air filter.
- Inspect the outdoor condenser unit for winter debris, branches, or leaves. Clear the area around it.
- Check refrigerant lines outside for damage, leaks, or separation from the unit.
- Verify the thermostat is working and responding to temperature changes.
- Listen for unusual noises when the system runs. Grinding, squealing, or rattling suggest wear.
- Inspect electrical connections and wiring for corrosion or loose terminals.
- Test the system for cold output. Set the thermostat 5 degrees below room temperature and feel for cold air at vents within a few minutes.
Fall maintenance:
- Repeat the filter check and outdoor coil inspection.
- Ensure the condensate drain (a small pipe near the indoor unit) is clear. A clogged drain causes water damage and mold.
- Run the heating mode briefly to verify the system switches properly and heat flows.
- Have the refrigerant charge checked if the system isn’t cooling or heating adequately (this requires professional equipment).
A professional tune-up (typically $75–$200, depending on your region) includes refrigerant testing, electrical work, and comprehensive coil cleaning. Many homeowners budget for one tune-up per year, often in spring before heavy cooling demand.
Signs Your Carrier AC Needs Professional Service
Some issues are beyond safe DIY territory. Call a professional technician if you notice any of these:
Refrigerant problems: If your system isn’t cooling even though proper thermostat settings and a clean filter, low refrigerant is likely. You’ll hear a hissing sound near the indoor or outdoor unit, or ice may form on the evaporator coil. Refrigerant recharge requires EPA certification and specialized gauges.
Compressor or motor failures: The outdoor unit has a compressor (the heart of the system) that burns out from electrical surge, improper voltage, or overwork. Replacement costs $1,000–$2,500 and requires a licensed technician. Similarly, indoor or outdoor fan motors that don’t spin or make grinding noise need professional attention.
Electrical or thermostat issues: Burnt components, tripped breakers, or a thermostat that won’t respond to input involve high voltage and should never be DIY. Mistakes here risk shock or further damage.
Water leaks indoors: If you see water pooling near the indoor unit, the condensate drain is clogged or broken. A professional can clear it or replace the drain pan and lines.
Strange odors: A musty smell suggests mold in the evaporator coil or ductwork. A burning smell points to electrical or refrigerant issues. Both warrant immediate inspection.
When shopping for a technician, check reviews on Angi or HomeAdvisor to compare local contractors, and ask for a written estimate before work begins.
DIY Tips to Keep Your System Running Efficiently
Beyond filters and coils, small habits make a big difference.
Manage your thermostat: Programmable thermostats reduce cooling costs by running the system only when needed. During sleep or when you’re away, raise the temperature 5–8 degrees. You’ll barely notice the difference, and your system will thank you.
Keep doors and vents open: Blocked return air vents force the system to work harder. Keep furniture, bedding, and curtains clear of vents and returns.
Shade and insulation: Close blinds or curtains in direct sunlight to reduce indoor heat load. Proper attic insulation (typically R-30 to R-60, depending on climate) keeps cooled air inside.
Outdoor unit airflow: The condenser needs clear space to release heat. Trim bushes and move trash cans away. In winter, cover the outdoor unit with a protective cover to shield it from snow and ice, but remove it before spring.
Monitor performance: Keep notes on thermostat settings and system runtime. If cooling times increase or temperatures plateau, it’s a sign of efficiency loss and time for professional evaluation.
According to central AC unit costs and maintenance research, most homeowners can extend their Carrier system’s lifespan by 5 years or more through consistent preventive care. That’s worth a few hours of basic maintenance per year.
Conclusion
Carrier AC maintenance is a blend of simple DIY tasks and professional expertise. Change your filter regularly, keep coils clean, and run seasonal checks, these alone prevent most common problems. When you encounter refrigerant, electrical, or mechanical issues, call a licensed technician. A small investment in preventive care now protects your comfort and wallet for years to come.